
Unilock Beacon Hill™ Smooth
The popularity of Beacon Hill Flagstone sizes inspired the creation of Beacon Hill Smooth. Offered in the same random bundle sizes and a larger, XL rectangle unit, this version of Beacon Hill offers a smooth surface texture for a sleek, modern look. Beacon Hill Smooth also offers a more contemporary color palette, including monochromatic color choices. Ideal for patios, pool surrounds and walkways, Beacon Hill Smooth offers the refined surface and long lasting color of Enduracolor.
Pedestrian
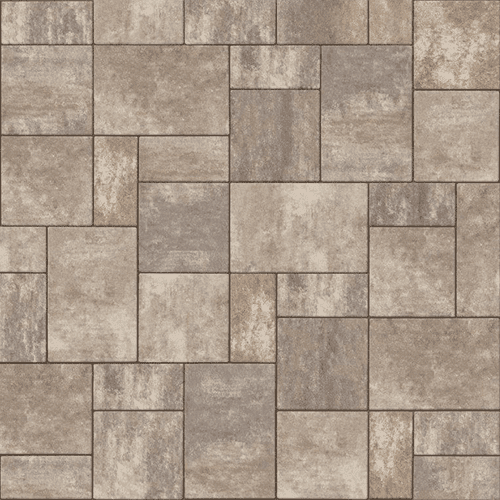
BHS Birtch
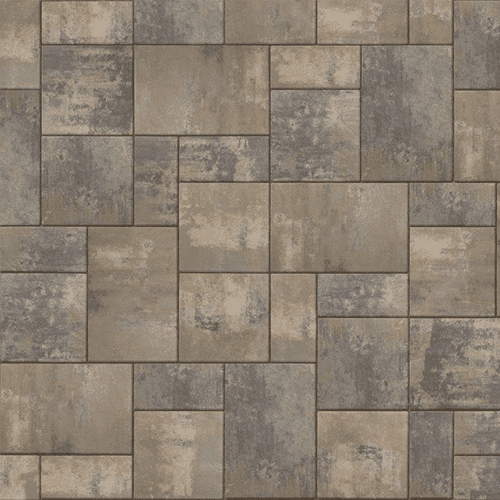
BHS Fossil
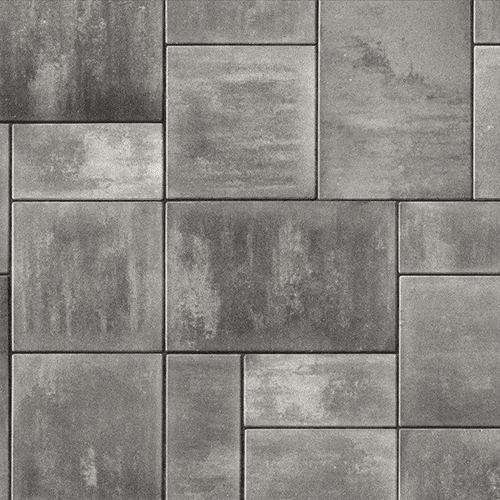
BHS Granite
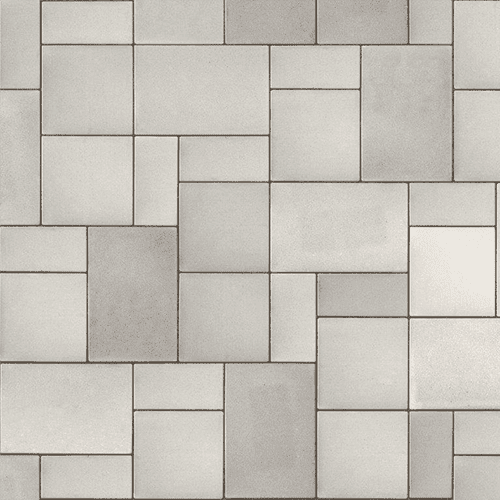
BHS Opal Blend
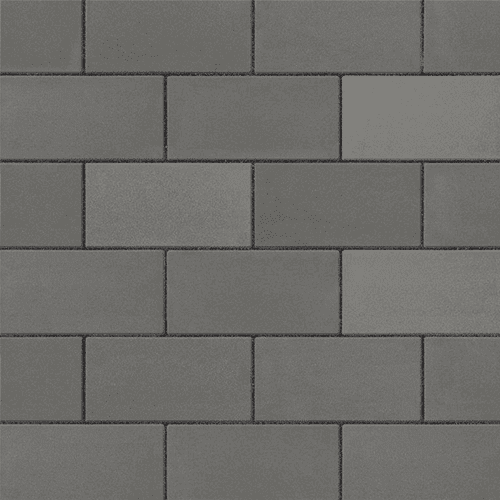
BHS Steel Grey
Brick Sizes:
XL
570mm x 950mm x 60mm
22 1/2″ x 37 1/2″ x 2 3/8″
Extra Info
BEACON HILL™ SMOOTH
The large unit sizes and the pleasant colors of Beacon Hill make it a fabulous patio or pool deck paver. The subtle flagstone impression provides for a striking visual day or night.
RECOMMENDED BASE STABILIZATION – one layer of DriveGrid™” stabilization grid between subgrade and base material. Recommended depth 8” to 10” below pavers for maximum stability and performance. Use under Standard Base or Permeable Base.
STANDARD BASE – Min. 6” – 8” of ¾” Crusher Run gravel (any road base standard in accordance with ASTM-D2940) compacted to 98% Standard Proctor Density (SPD).
STANDARD BEDDING COURSE – 1” thick of coarse sand– in accordance with ASTM-D2940 screeded over base.
ALTERNATIVE PERMEABLE BASE – Min. 6” – 8” of ¾“ clear open-graded stone compacted to achieve full particle lock-up and consolidation. (Clear open-graded does not compact but does consolidate slightly by rattling the particles together.)
ALTERNATIVE PERMEABLE BEDDING COURSE – 1” thick of 1/4” clear open-graded chip stone – (ASTM No. 8) screeded over base.
SPECIAL NOTE: CONCRETE DIRECT OVERLAY – In some areas of the country and in some applications pavers are very successfully placed directly over concrete. Concrete as a base is in itself quite strong, but it can affect the structural integrity of the paver particularly in vehicular applications, where the concrete below is sub-par. The following considerations must be taken into account to insure that the concrete below the surface is ideal:
- Concrete integrity – concrete must be in good condition, and not crumbling
- Drainage slope – concrete below must be sloped away from all buildings and structures
- Drainage holes – In lowest areas of the concrete, drill 1” holes in concrete (on 12” centers) and fill holes with ¼” chip (ASTM No. 8)
- Base drainage – the area below the concrete must not be subject to frost movement
- Surface – surface must be totally smooth and flat equivalent to the desired finished surface
- Waterproofing – may be required when installing pavers over concrete where there is a basement or cold cellar below. Install an impervious rubber membrane over the surface prior to installing any pavers over the surface.
- Jointing Sand – Use an impervious polymeric sand when installing over concrete
JOINTING MATERIAL AND JOINT STABILIZATION
All sands must meet ASTM C144 or C33 Specifications. For best appearance and optimal performance,, keep jointing materials approximately 1/8” below the chamfer (bevel edge) of the paver.
Good Option: Ordinary sharp jointing sand in accordance with ASTM C144 or C33. (Common name: Concrete Sand)
Best Option: Any polymeric sand or ordinary concrete sand stabilized by a water-based or solvent-based joint sand stabilizer sealer. Always follow manufacturer’s application specifications and requirements.
HANDLING – This product has no special handling requirements, but a vacuum placer tool may be used to more easily install XL units.
EDGE RESTRAINT – Always install an edge restraint around the perimeter of any paver installation not restrained by building structures. Spike-in edge restraints come in plastic and metal and work well for most applications. A concrete curb or a sub-surface concrete wedge can also be installed to retain the edge.
PAVER COMPACTION – Always use a protective polymer pad on the bottom of your compactor when doing the final compaction of the pavers. An alternative is to use a rubber-roller compactor for the final compaction.
CLEANERS – Any cleaner specifically designed for pavers may be used for color restoration or general cleaning. Follow manufacturer’s dilution rates and application procedures. Always test a small area to make sure the results are as expected.
SEALERS
- Product may be sealed for aesthetic or cleanliness reasons but it is not required
- Use any sealer approved for concrete pavers
- Select type for desired aesthetics
- Product must be cleaned before sealing
- Always read and follow manufacturer’s application procedures
- Always test a small area to make sure the results are as expected
